Disclosure: This page contains affiliate links.
I never thought I’d say it, but butternut squash is one of my favorite foods. Maybe in the top 10.
Butternut squash (oven-roasted, bite-sized, puréed, sweet, savory, you name it) has been a staple in my diet since starting the GAPS diet and then transitioning to Paleo(ish) in the summer of 2014. Since last May, there’s probably only been 10-15 days where I haven’t had eaten butternut squash in some form during the course of the day.
But I wasn’t always a butternut squash fan. In fact, I didn’t even know what it was until I lived in Australia for a year. Even then it took me months to learn that what Aussies called “pumpkin” (or sometimes “butternut pumpkin”) was what we’d call “butternut squash” in the USA. When I returned home after the year in Australia, I ate butternut squash occasionally but still MUCH preferred sweet potatoes as my slightly sweet starchy carb of choice.
And then the health problems hit and hit hard. While researching my symptoms and various diets, I decided that sweet potatoes would sadly have to sit on the sidelines for a while. Butternut squash became my primary source of carbs, and other than bananas, it continues to be my main source of carbs nearly nine months later. Over time, I’ve found different ways of incorporating it into meals and snacks, and I hope it’s never taken off the list of foods I’m able to eat!
Recently a few friends and family members who are exploring Paleo, eating less processed foods, or simply seeing me post about butternut squash on Facebook all of the time asked how I prepare it. After nine months of buying one to three butternut squash per week, I realized I take for granted how easy it is to prep and cook! I’m going to share three methods I’ve tried, along with recipes featuring some of my favorite ways to get my daily butternut fix.
How to roast butternut squash (halves)
Without a doubt, slicing a butternut squash in half and roasting the two halves in the oven is my favorite way to prepare butternut squash. It works for just about any recipe and requires the least amount of time from start to finish of all three methods.
Slicing through them isn’t always easy, however, especially if you don’t own a good knife. If you can only invest in a couple of new kitchen items, get a good knife. It’ll make your life SO much easier (as will a husband who does 90% of winter squash prep — he’s our hand and knife model below).
1. Grab your butternut squash, knife, and cutting board of choice.
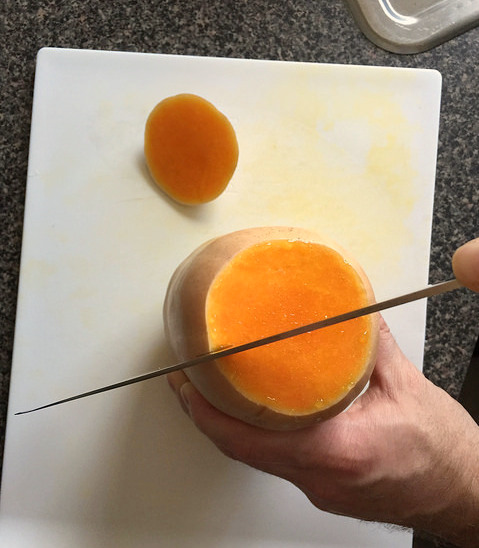
2. Slice the top and bottom off and stand the butternut squash vertically with the larger, bulbous end on the cutting board.
3. Slice the butternut squash in half lengthwise.
Congrats! The hard part is done.
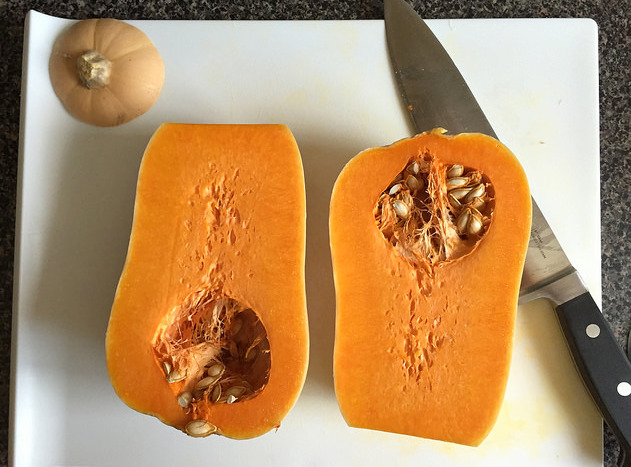
4. Scoop out the seeds (like you would with a carving pumpkin for Halloween). I use a large soup spoon.
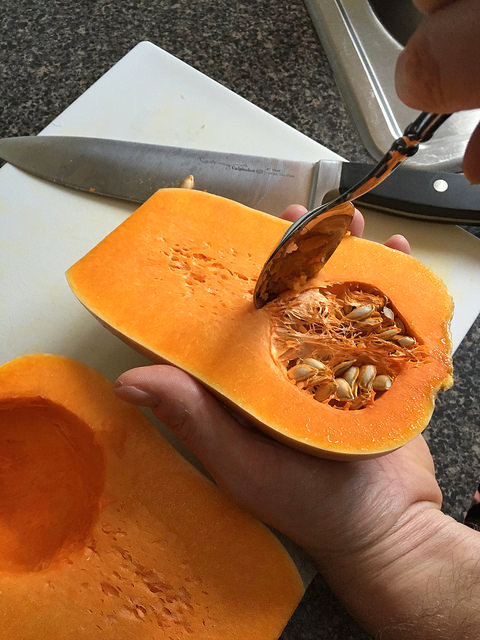
5. Brush both halves lightly with olive oil (or cooking fat of choice) and lay face down on a baking tray lined with parchment paper (we use this one).
6. Place tray into an oven pre-heated to 375 F. Cook time will vary based on the size of your squash. We usually set the timer for 40-45 minutes, check the squash, and add on 5-minute increments as necessary. Your squash is done when you can easily pierce it through with a knife.
7. Allow the squash to cool enough to handle. Scoop out flesh and use as directed by your recipe of choice. We’ve been LOVING the butternut squash sauce in this Creamy Sausage and Butternut Squash Spaghetti (using spaghetti squash). Instead of cubing the butternut squash as directed by the recipe, we just use the flesh from roasted halves, as it all gets blended for the sauce anyway!
Peel, cut, cube, and roast butternut squash
Although time consuming, slicing a butternut squash into cubes is a popular method. You can enjoy the bite-sized roasted squash pieces as a side dish, on top of a salad, in soups or stews, or countless other recipes.
We’ve tried several ways of prepping the squash before peeling and cubing and this is what works best for us.
1. Begin as we did with the butternut squash halves — slice off the top and bottom, cut in half lengthwise, and scoop out the seeds.
2. Place each half face down on a cutting board and peel/scrape/cut the skin away, removing as little flesh as possible.
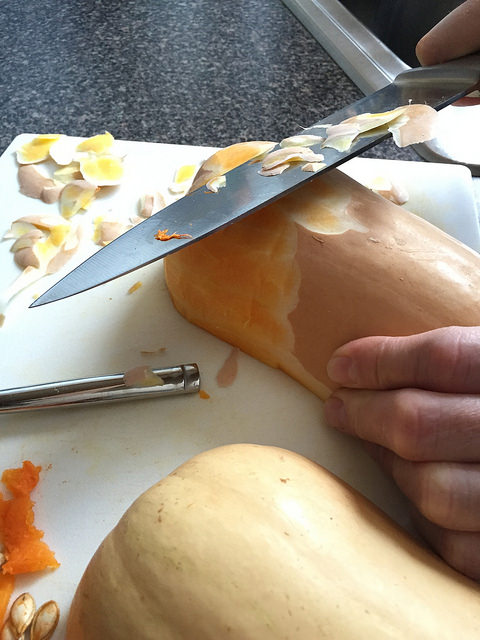
It may take a while to get to a naked half, but once you’ve done it, you’re half way there!
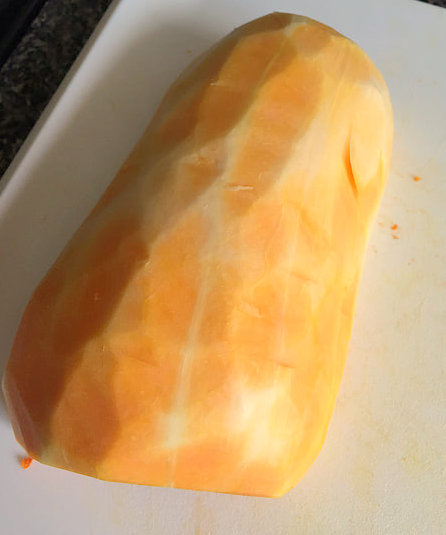
3. Cut the butternut squash into cubes or randomly sized chunks. I prefer fairly small 1/2 inch cubes. They cook faster and get a nice caramelization on them.
4. Toss with olive oil (or cooking fat of choice) and season with salt and pepper (to taste) and any other herbs or spices you like.
5. Spread evenly over a baking tray lined with parchment paper and bake at 375 F. We cooked the gorgeous bites below for 35 minutes. Stir/flip the pieces at least once during roasting for a more even cook and color.
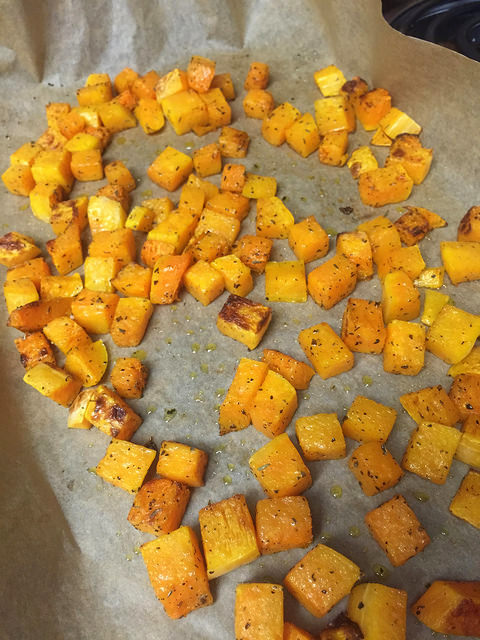
We topped a spinach salad with the butternut pieces above, but at the moment my favorite bite-sized butternut recipe is this roasted butternut squash with paprika and turmeric. YUM.
Roast a whole butternut squash in the oven
If you’re not up for peeling, cubing, or even slicing a butternut squash, this is the method for you.
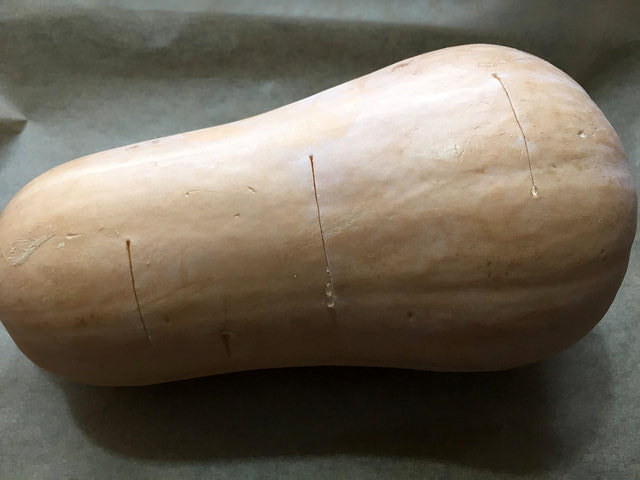
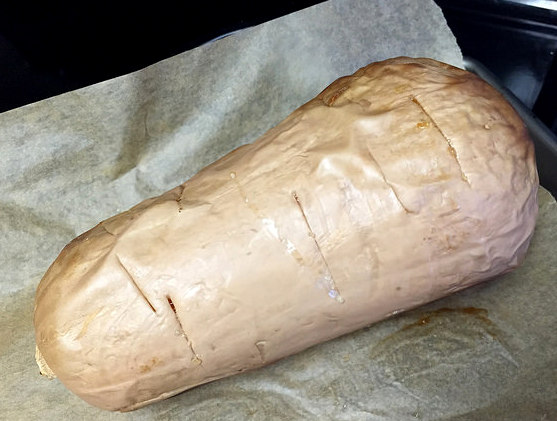
1. Pierce your butternut squash with a large knife in 3-5 spots (depending on the size).
2. Place on a baking tray lined with parchment paper and pop into an oven preheated to 375 F.
3. Rotate the squash every 20 minutes or so to achieve a more even cook and avoid burning the bottom.
4. The first time we tried this method, we took our butternut out at 65 minutes, thinking it was ready. While cooked through, it wasn’t as soft as I would like. I recommend setting your timer for 1 hour for a smaller squash and adding 5-minute increments as necessary. You may need up to 90 minutes for a larger squash.
5. Allow the cooked squash to cool enough to handle and slice in half. Scoop out the seeds. Remove flesh and use in recipe of choice.
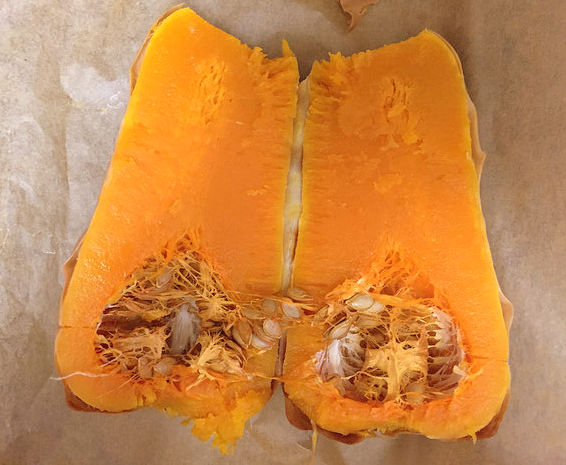
I added the butternut above to a food processor and used the mash/puree to top my favorite winter squash shepherd’s pie recipe (which I make with several modifications for my food allergies + intolerances).
- 1 butternut squash
- 2-3 teaspoons of liquid/melted cooking fat (I use olive oil)
- Preheat oven to 375 F.
- Grab your butternut squash, knife, and cutting board of choice.
- Place the butternut squash on the cutting board length wise and slice the top and bottom off (about ¼ to ½ inch, just enough to remove the stalk).
- Stand the butternut squash vertically with the larger, bulbous end on the cutting board. Slice the butternut squash in half lengthwise.
- Scoop out the seeds (like you would with a carving pumpkin for Halloween).
- Brush both halves lightly with olive oil (or cooking fat of choice) and lay face down on a baking tray lined with parchment paper.
- Place tray into pre-heated oven. Cook time will vary based on the size of your squash. For a medium-size squash, I recommend setting the timer for 40-45 minutes. Then, check the squash and add on 5-minute increments as necessary. Your squash is done when you can easily pierce it through with a knife.
- Remove from oven when done and allow the squash to rest until it's cool enough to handle.
- Scoop out flesh and enjoy in your recipe of choice.
If you’ve never cooked a butternut squash, I hope you’ll use one of the methods above and roast one soon! If you’re a fellow butternut squash fan, what’s your favorite method? Any recipes you absolutely LOVE?
Leave a Reply